Windows Mail email client setting for Windows 10
for Ag Art cz s.r.o. clients
Version of Windows Mail: 17.8700.40485.0
Document update date: 7. 11. 2017
Contact: Filip Albert (albert@ipcc.cz, +420 777 721 207)
1. Adding a new account
- After you open the email client, click on menu icon ≡ and then on figure icon Accounts. See picture 1.
- Manage Accounts column will appear on the right side, where you need to click on Add account.
- Select Advanced setup. See picture 2.
- Select Internet email in the opened window. See picture 3.
- In Internet email account window you need to fill in these informations. See picture 4.
a. Email address – fill in your email adress
b. User name – fill in your email adress
c. Password – fill in the password to your email adress
d. Account name – fill in any account name under which you want to distinguish an account in your email client
e. Send your emails using this name -fill in a name that will show up to your email receiver (for example:. your name or the name of your company)
f. Incoming email server – fill in “imap.ipcc.cz” or “pop.ipcc.cz”, according to if you want to synchronize your account with server (IMAP) or just download emails to your client regardless the changes on your server account (POP3).
g. Account type – according to the previous option select IMAP4 or POP3
h. Outgoing (SMTP) email server – fill in “smtp.ipcc.cz”
i. Mark off all of the marking options
6. If your client starts to download your emails and you send your first email successfully, then your email client is set right.
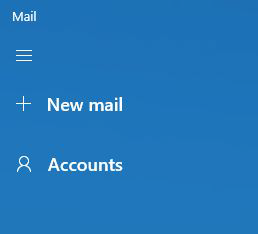
Picture 1
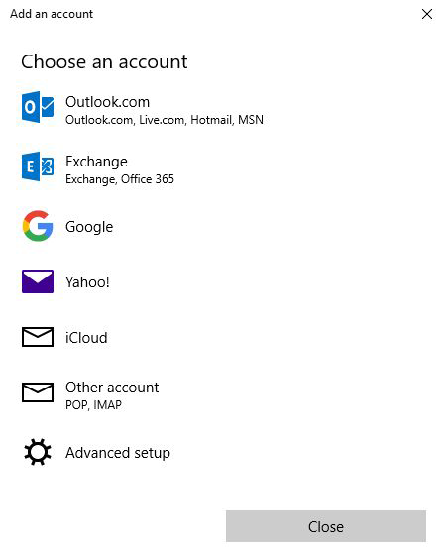
Picture 2

Picture 3

Picture 4